All guides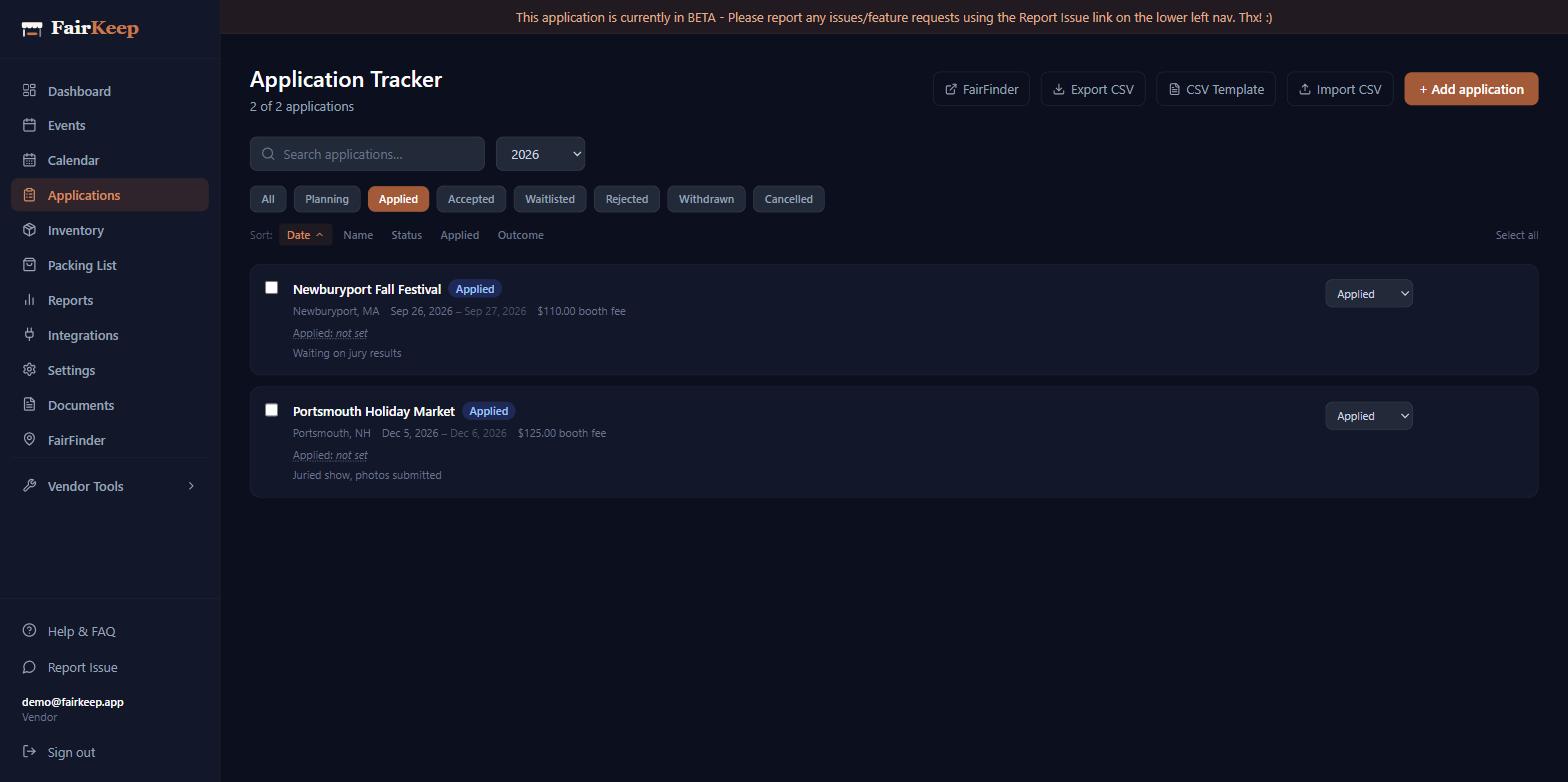
Applications
Turn an accepted application into an event
Promote any application straight onto your event calendar — FairKeep carries over the name, location, booth fee, and status, and splits a multi-day show into one event per day.
- 1Go to Dashboard → Applications and hover the row for the application you want to promote.
- 2Click the calendar-plus icon on the right of the row ("Add to Event Calendar").
- 3A confirmation row opens showing the start and end dates. If the application has no date yet, enter one here — FairKeep saves it back onto the application as well.
- 4Confirm. FairKeep creates the event(s) and links them to the application.
- 5A multi-day show becomes one event per day, each with its own start and end date, so you can log income, hours, and expenses separately for each day. Use the "Expand multi-day" toggle on the Events page to collapse them back into a single run.
- 6The event arrives at the status that matches the application — an accepted application becomes a confirmed event, a waitlisted one stays waitlisted on your calendar.
- 7Open the new event to add booth number, hours, mileage, and anything else the application did not carry over.
Related guides
Use the applications tracker
Manage every market application in one place — log it when you apply, update the status as you hear back, and convert acceptances into full event records.
Update your application status
Keep your application tracker accurate by updating statuses as organizers respond — from Applied through to Accepted, Waitlisted, or Declined.
Track your first event
Learn how to log an event in FairKeep — from entering the show details before the event to filling in income and expenses afterwards.